
Water sneaks in where you least expect it, inside walls, behind paint, beneath plaster. When the signs finally surface, the difference between a flawless recovery and a lingering headache depends on knowing what to do next.
Understanding Water Damage and Its Impact on Walls
Dripping pipes, storm-flooded basements, or a broken washing machine hose can all introduce more than just moisture, they bring the risk of structural headaches and persistent mold. Drywall and plaster, the backbone of most walls, are especially vulnerable when exposed to even brief spells of dampness.
Common Causes of Wall Water Damage
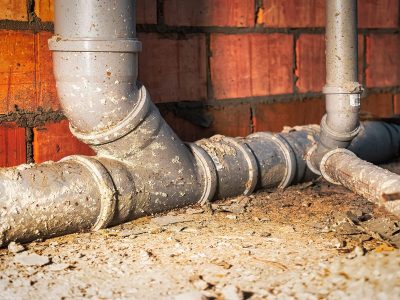
Leaky roofs, faulty plumbing, cracked foundations, and high humidity are classic culprits. Sometimes, a slow drip behind the scenes does more damage than an obvious torrent, as it can fester for weeks before detection.
Signs Your Walls Are Affected
Don’t dismiss peeling paint, bubbling surfaces, or musty odors. Yellowish stains, sagging drywall, or a chalky film on plaster typically signal water’s unwelcome visit. Mold spots, especially in corners or lower wall sections, are an urgent red flag.
Consequences of Ignoring Water Damage
Unaddressed, water damage leads to warped studs, crumbling plaster, and unhealthy air. Mold doesn’t just look bad; it can aggravate asthma and other respiratory conditions. Left long enough, weakened walls can compromise your home’s structural integrity.
Assessing the Extent of Damage
Not every wet mark means disaster, but early action is crucial.
Inspecting Drywall and Plaster for Moisture
Touch the suspect area, if it feels soft or crumbly, water has already started its work. Use a moisture meter for accuracy, especially if the damage isn’t visible but you suspect trouble. Peeling away a section of baseboard can often reveal hidden dampness.
Identifying Structural vs. Cosmetic Damage
Hairline cracks or small patches of bubbling paint are usually cosmetic. Large soft spots, squishy drywall, persistent dampness, or visible mold growth point to structural issues. Those need more than a quick fix.
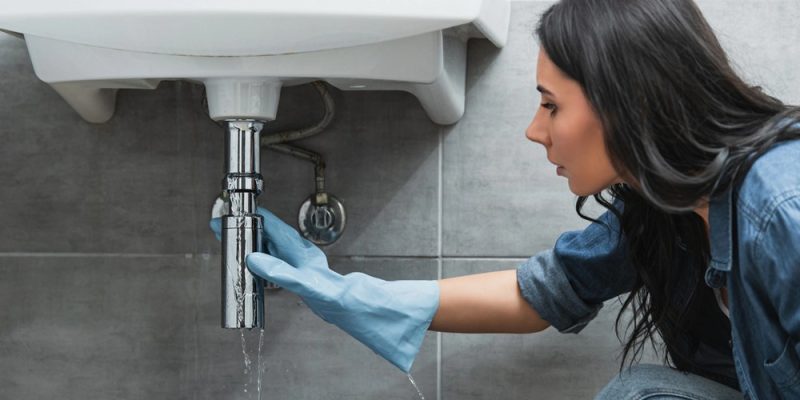
When to Call a Professional
If the damage covers more than a few square feet, if you detect a moldy smell, or if wires and outlets are involved, pause the DIY urge. Complex cases can be handled more safely and quickly by experts like those at BuildRex plaster repair, who can assess, repair, and prevent further issues with experience and the right tools.
Essential Drywall and Plaster Repair Techniques
Once water sources are shut off, it’s time to tackle restoration.
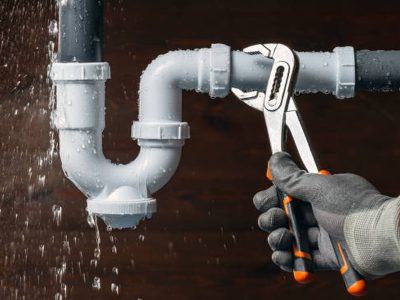
Removing Damaged Sections Safely
Cut away soggy drywall or plaster using a utility knife, making sure to extend at least an inch beyond the damp area. Wear gloves and a mask to avoid contact with mold spores.
Drying and Dehumidifying Affected Areas
Fans and dehumidifiers work together to dry the space thoroughly. Sometimes, professional-grade drying equipment is needed, depending on the extent of saturation. Skip this step, and you risk trapping moisture inside your walls, setting the stage for future problems.
Applying Patching Compounds and Replastering
Once bone dry, patch smaller holes or gouges with joint compound or plaster. For larger areas, replace whole drywall sheets or re-lath and replaster. Sand the surface smooth after each layer dries for an even finish.
Choosing the Right Paint and Finishes for Recovery
Every coat of paint is more than just color, it’s protection.
Selecting Moisture-Resistant and Washable Paints
Especially in bathrooms, kitchens, and basements, a moisture-resistant primer topped with washable paint helps guard against new damage and keeps cleanup easy.
Matching Paint to Room Function and Lighting
Children’s rooms benefit from scuff-resistant finishes. In dimly lit spaces, brighter colors amplify natural light, giving rooms a fresh, open feel.
Preparing Surfaces for a Flawless Finish
Prime repaired areas to seal new plaster or drywall and ensure even color absorption. Quality prep always pays off in the final look.
Preventing Future Water Damage to Walls
Recovery means nothing if water finds its way back in.
Fixing Leaks and Moisture Sources
Routinely check for plumbing leaks, roof damage, and foundation cracks. Early repairs can mean the difference between a spot patch and a full wall restoration.
Improving Ventilation and Insulation
Good airflow reduces humidity and condensation. Exhaust fans in bathrooms and kitchens, and proper insulation in walls, help maintain dry conditions.
Using Protective Coatings and Sealants
Sealants around windows, doors, and baseboards provide a frontline defense against seepage, while exterior paints with waterproofing properties add another layer of protection.
Step-by-Step Wall Recovery Process After Water Damage
Immediate Actions to Take After Water Exposure
– Shut off the water source
– Move furniture away from affected areas
– Begin drying the space with fans and dehumidifiers
Drywall Repair and Plastering Workflow
– Remove damaged material
– Disinfect area if mold is present
– Patch drywall or replaster as needed
– Sand and prime all new surfaces
Painting and Final Touches
– Apply primer
– Paint with moisture-resistant topcoat
– Inspect periodically for any future issues
Hiring Professionals vs. DIY: What You Need to Know
When DIY Is Feasible
Small, localized stains or minor bubbling can be safely handled by confident homeowners equipped with the right materials and patience.
Benefits of Professional Drywall and Painting Services
Pros work quickly, have access to commercial-grade equipment, and know how to spot issues you might miss. For significant repairs, insurance claims, or when health is a concern, their expertise is invaluable.
Questions to Ask Your Contractor
– What is your experience with water-damaged walls?
– Do you handle both structural and cosmetic issues?
– Will you help identify and fix the original source of water?
Maintaining Your Walls Post-Recovery for Longevity
Regular Inspection and Early Problem Detection
Walk your home every few months, looking for new stains, cracks, or moisture. Early intervention is your strongest weapon.
Routine Cleaning and Care Tips
Wipe down painted walls with a gentle cleanser. Avoid abrasive scrubbing, which can weaken protective finishes.
Scheduling Periodic Professional Checkups
Annual or biannual inspections by experienced technicians can spot issues before they become costly.
A well-recovered wall is more than a restoration, it’s a shield against future problems. The right steps now ensure your space remains beautiful, healthy, and protected for years to come.


Comments